One thing I noticed nowadays is that taking photos by the window still makes it difficult to get even light. There’s a light gradient. Right at the window everything is bright but then gets darker, towards the side that faces indoors. Even when I use reflectors to bounce the lights and soften shadows, my photos aren’t as bright as they are in summer.
During the dark December days it’s more difficult to make use of daylight for book photography. In winter or during monsoon seasons, it can be fairly dark, even by the windows. I try to combat that by taking photos outdoors but that doesn’t work in torrents of rain. This means I have to make do with window light.
This is where this neat little trick in Photoshop helps me achieve even light and keeps my bookstagram photos consistently bright.
Achieving Even Light with Photoshop
Even though I’m using Photoshop CC, this tutorial is also applicable to older versions of Photoshop. It’s just that the menu layouts might just be a little different.
1. Prepare your photo
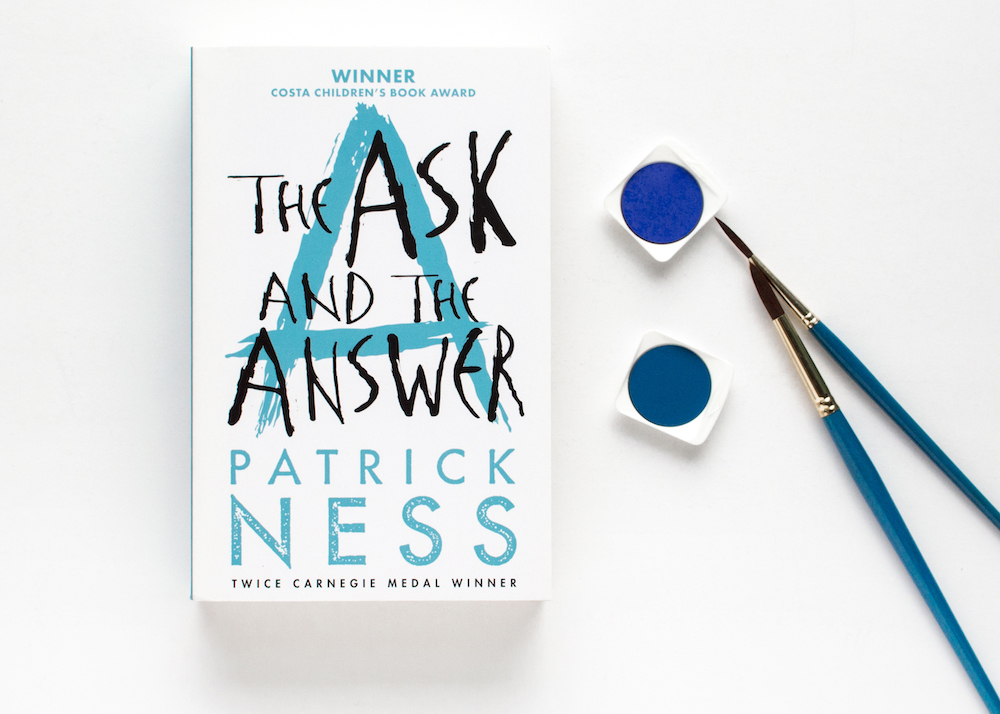
First post-process your photo as you normally would, adjusting things like exposure, contrast, etc. If you’re using filters, leave that to the end. Crop your photo to your desired proportions. When you’re done, open your photo in Photoshop. Or proceed to the next step if you did your adjustments in Photoshop anyway.
2. Select the darker region in the photo

With the rectangular marquee tool, select the darker region in the photo. Extend the region a little towards the brighter side, so that there’s an overlap.
3. Feather selection
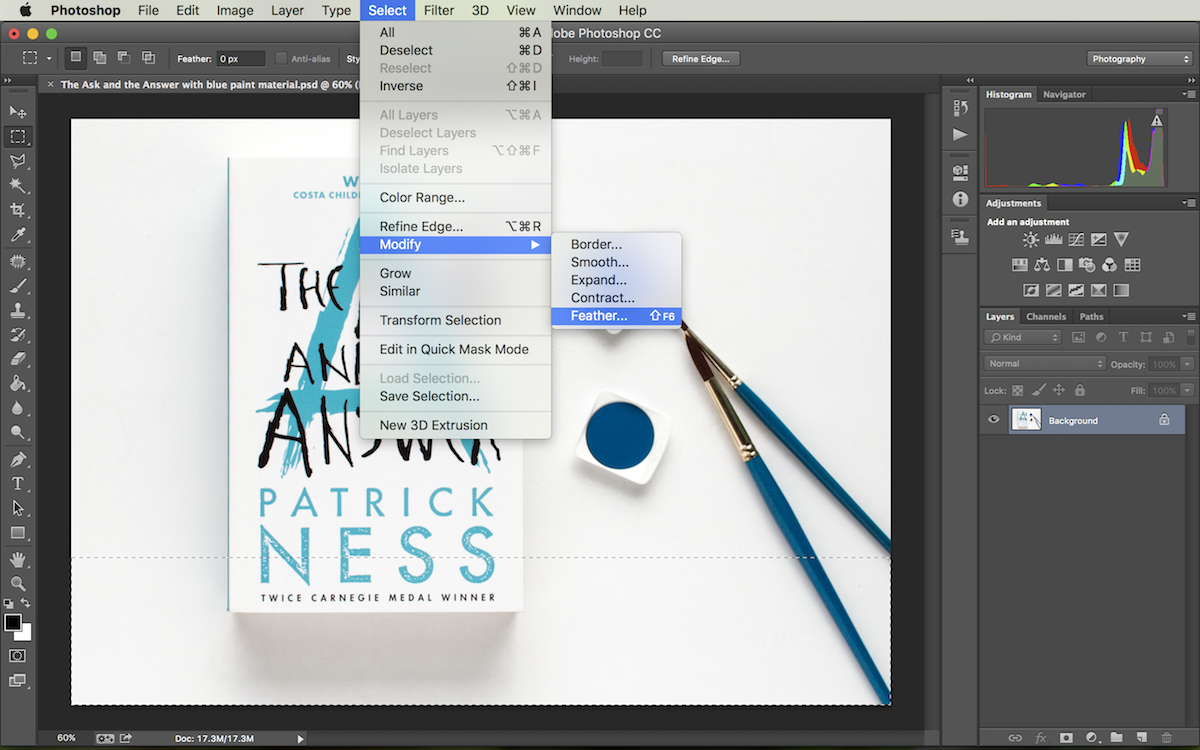
Go to Select > Modify > Feather.
4. Set feather radius
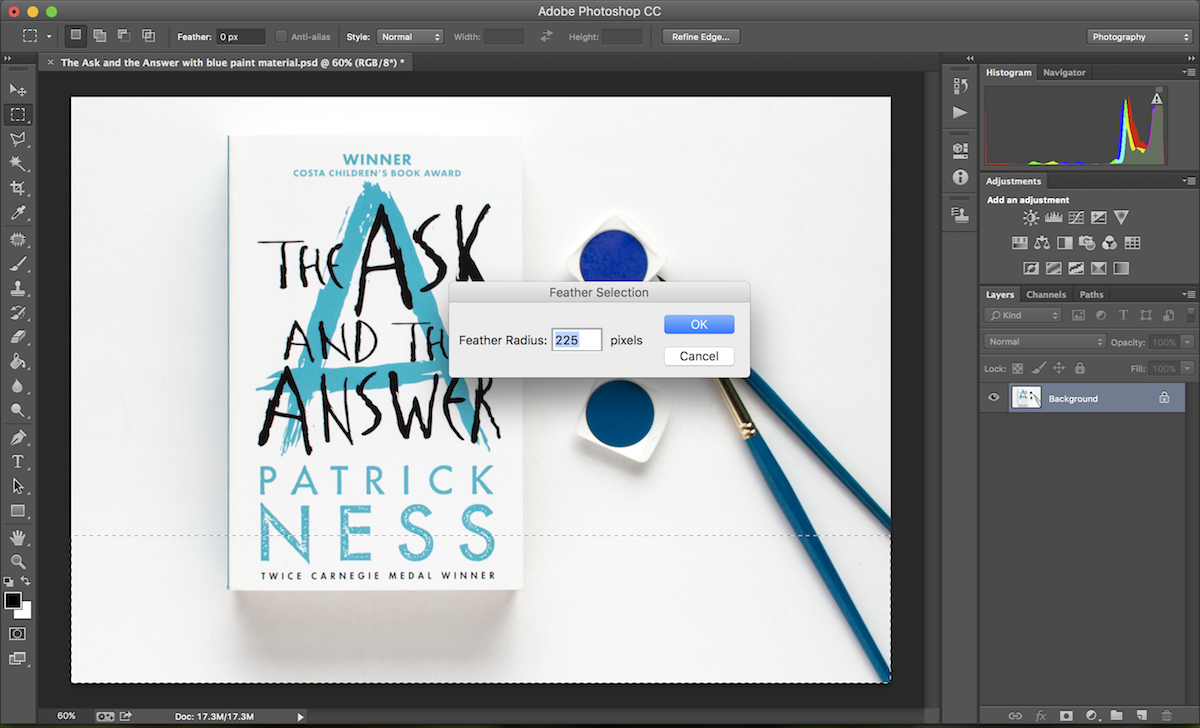
The bigger the radius, the more gradual the gradient of the light will be.
5. Apply a new adjustment layer curve
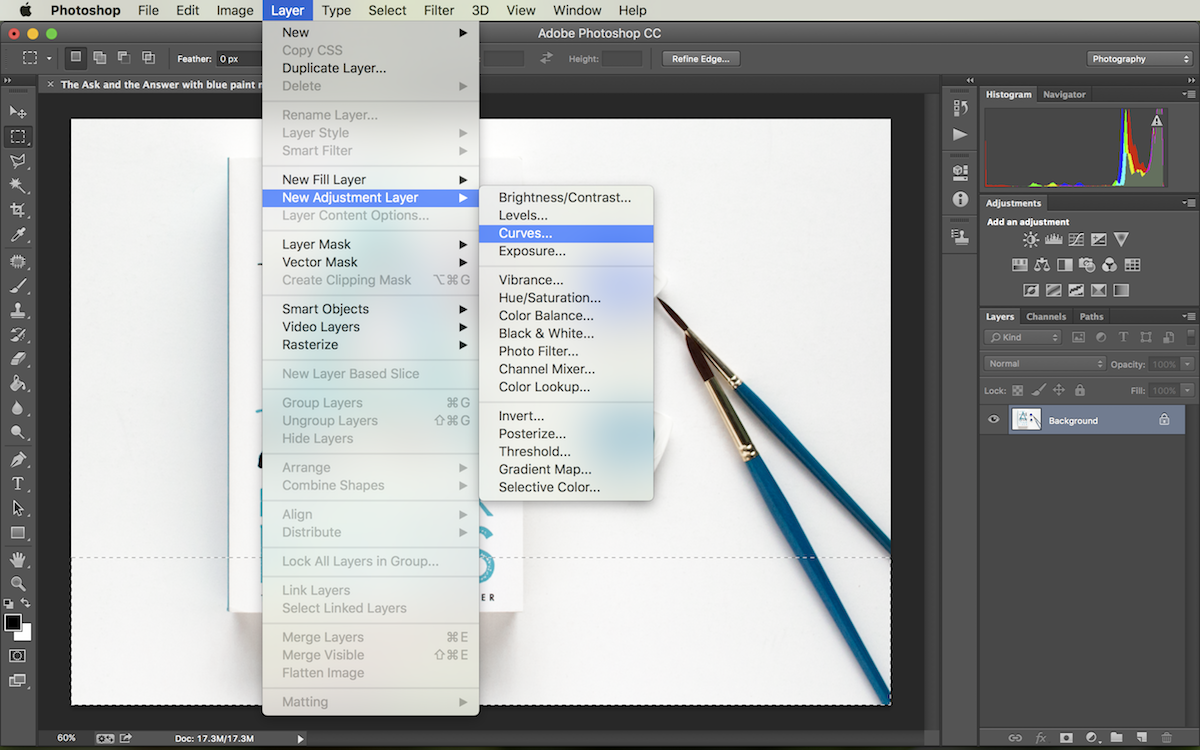
Go to Layer > New Adjustment Layer > Curves.
6. Name the new layer
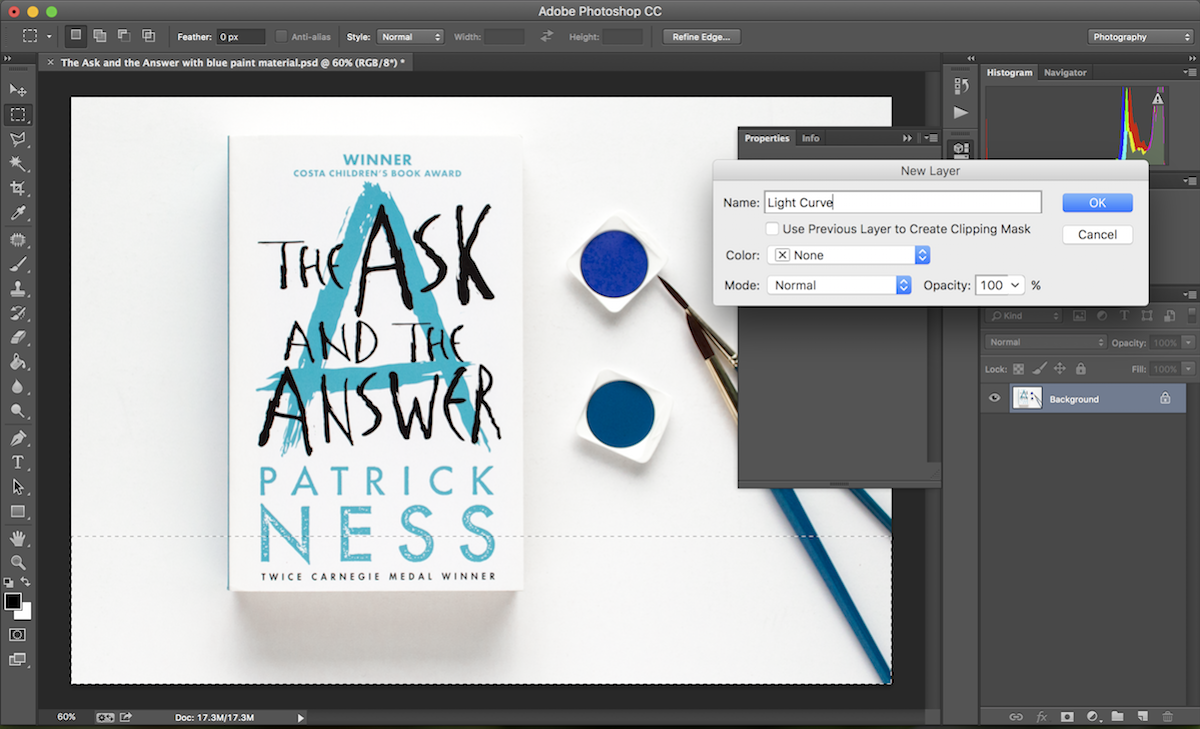
It’s good practice to give each layer a unique name. This way it’s easier to keep a clear overview when working with multiple layers.
7. Adjust curve to even out the brightness
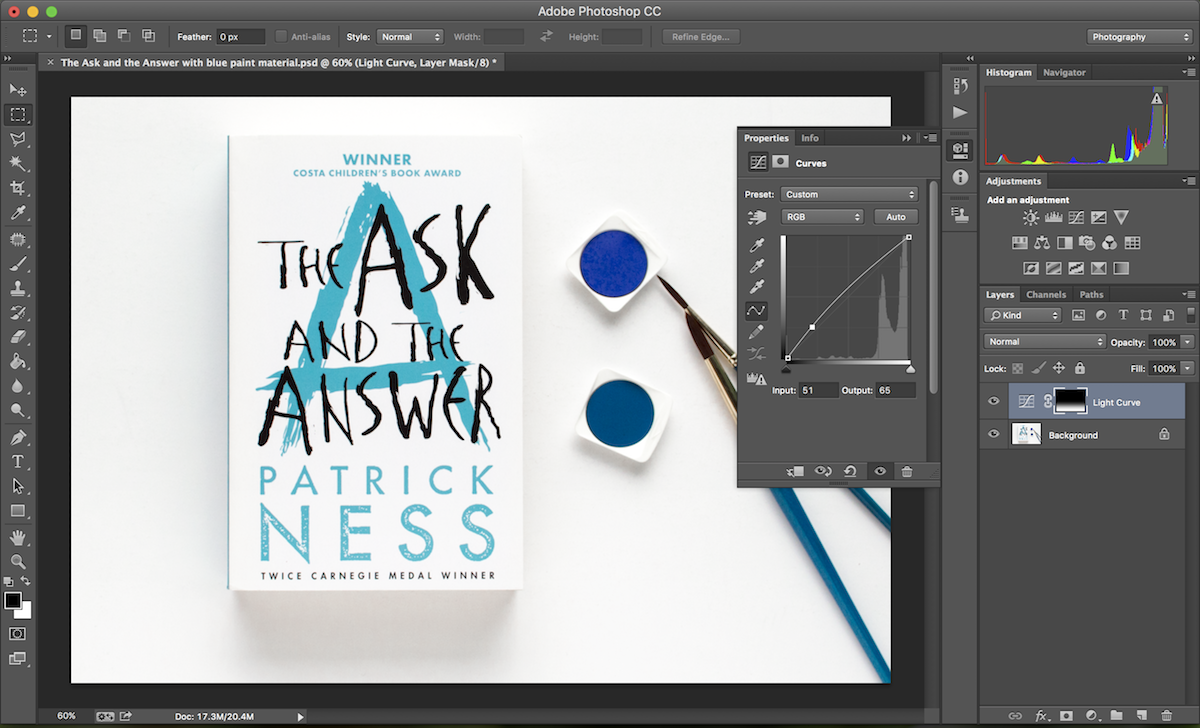
Select a point on the line towards the left. Pull this above the original line. This way you’ll brighten the shadows and achieve more even lighting across the photo. There’s no fixed value since every photo is different, so you’ll need to experiment a little to see what looks best.
Further Steps
For this photo that I worked with, I think that the book cover was already evenly lit. It was mostly the white background that needed to be evened out. In that case, I can take the following steps, so that the light gradient curve isn’t applied to the book cover.
8. Select book cover

9. Pick brush tool
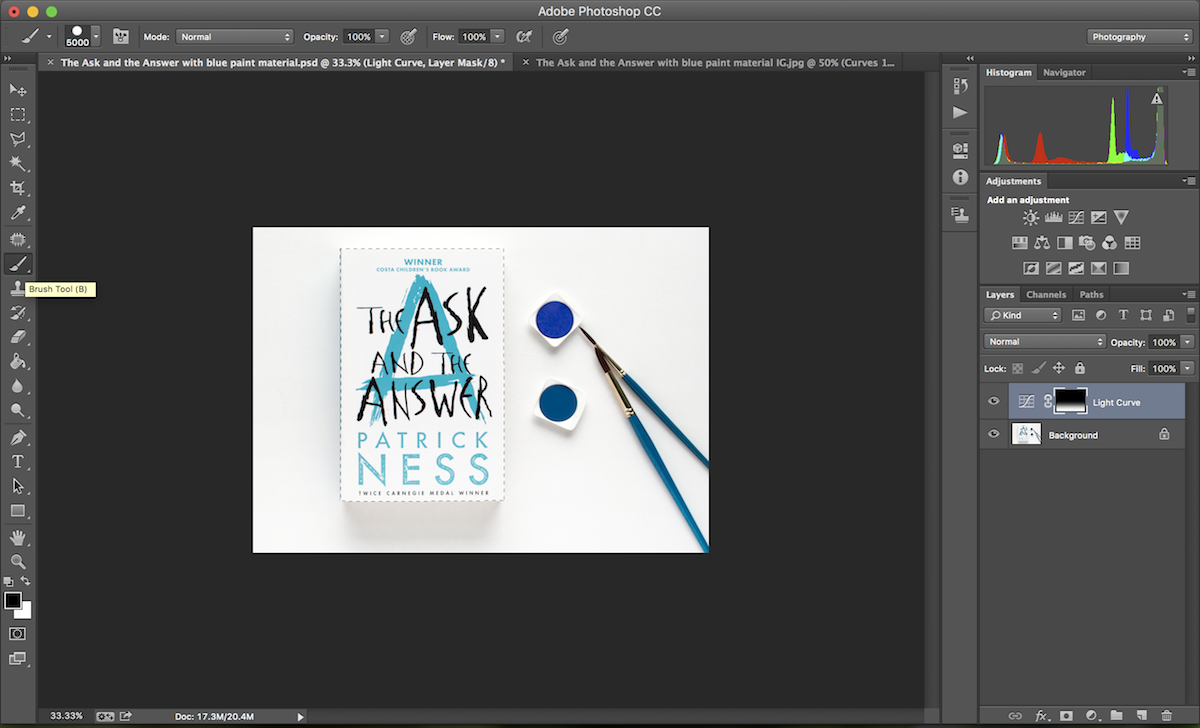
Pick your brush tool and set the colour to black.
10. Select layer mask thumbnail of your curve layer
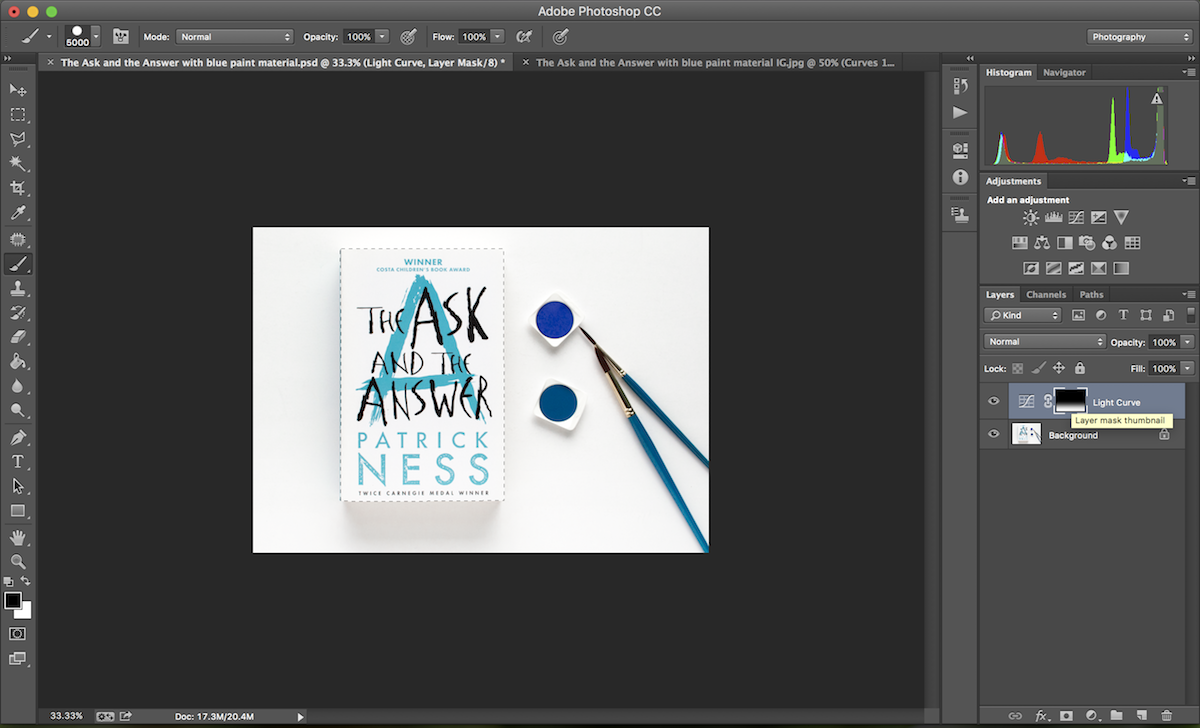
11. Brush selected area
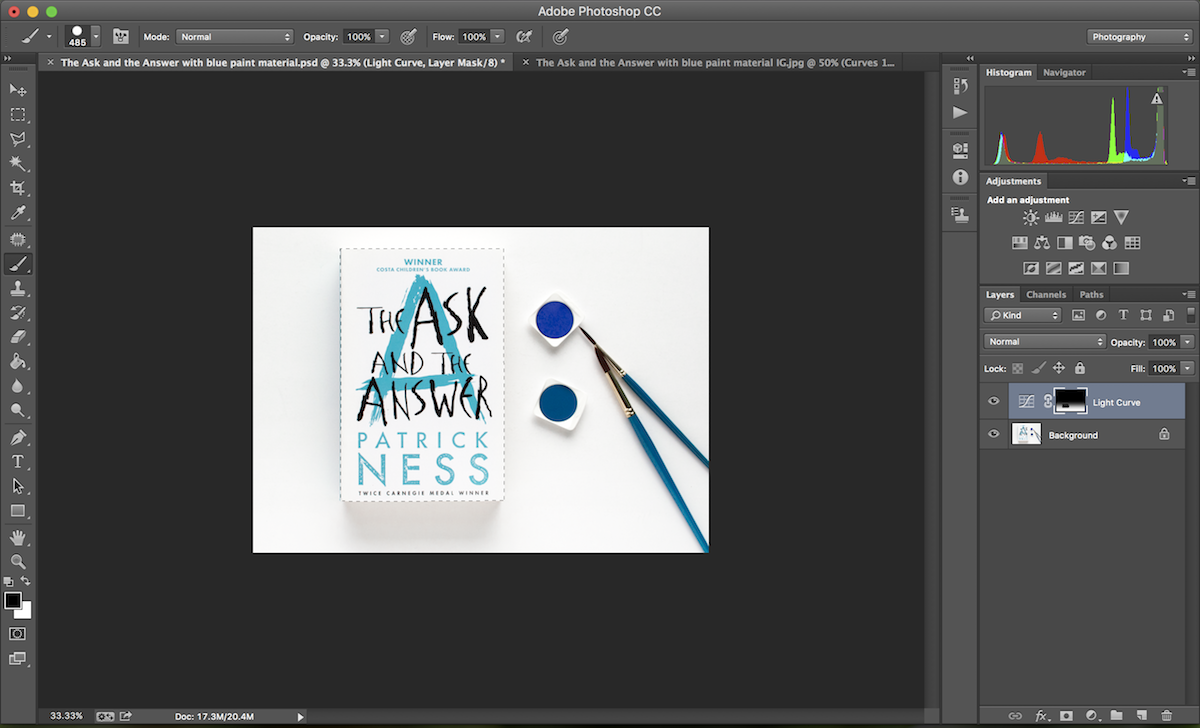
As you brush the selected area, you’ll notice that the book cover isn’t affected by the light gradient anymore. Once you’ve brushed over the selected area, you’re done!
Another Example
Sometimes darker regions can’t be selected as neat rectangles. In this alternative example from my Retrospect #102 post, you can see that the darker region has a more circular edge. The concept is the same though. Just select the dark region and apply the same steps.
Photo in Photoshop with dark region selected

To select this region, I used the elliptical marquee tool to select the bright region. Then I inverted the selection, so that it would switch to the dark region.
Applying curve to even out light in photo
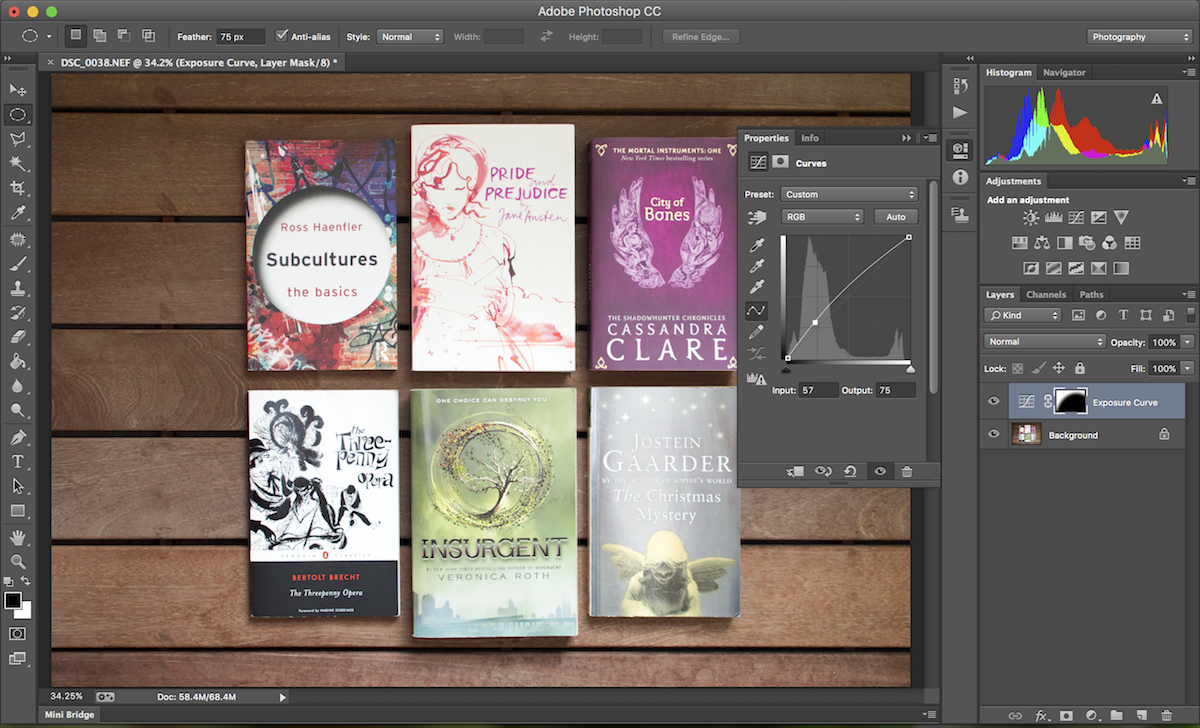
After applying the curve, it looks like I had even light when taking this photo, which is exactly what I wanted to achieve. Since I couldn’t manipulate the light source when taking this photo, I resorted to Photoshop and used these simple steps to achieve an overall bright look.

This is wonderful! I don’t usually use photoshop to edit any of my pictures for instagram but I always have this problem so it’ll definitely come in handy for blog photos! Thanks :)
I’m glad you find this useful, Natalie! :)