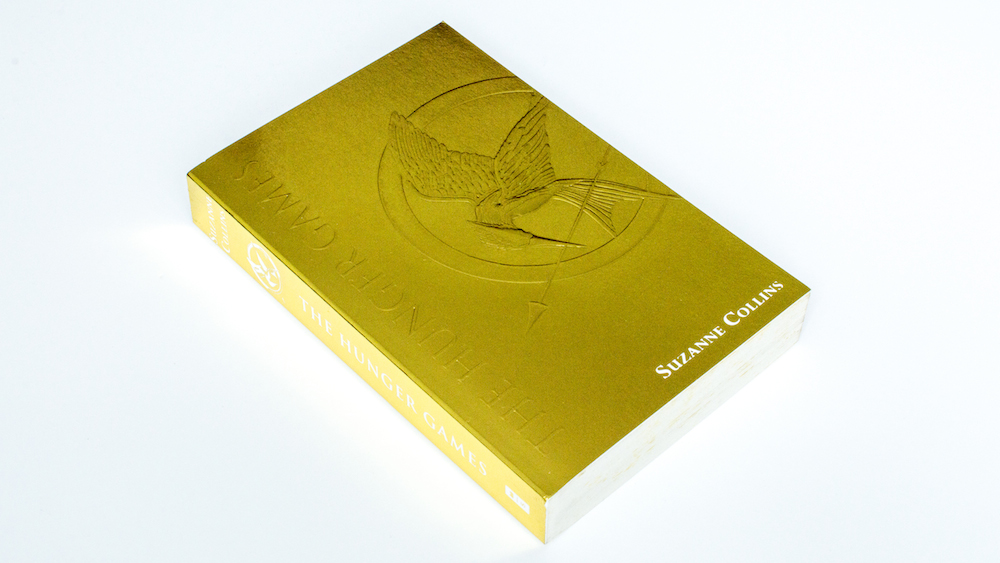
Golden warmth and shine of The Hunger Games at ISO 200
Light is the primary factor that influences photography. It has the single most impact on how photos turn out. If the light is too bright and harsh, photos look washed out. Take photos when it’s too dark and everything turns out black.
Thankfully, with the right camera settings, we are not entirely at the mercy of light conditions. Either we manually control the exposure or our digital cameras/smartphones automatically do it for us.
Exposure Factors
Exposure settings in cameras are based on shutter speed, aperture and ISO. The faster the shutter speed, the easier it is to take photos while holding a camera in hand. Aperture affects the depth of field and the amount of light that enters through the lens. ISO determines the sensitivity of the camera to light.
Defining ISO
ISO traditionally referred to the light sensitivity of film. For digital cameras, ISO refers to the light sensitivity of the sensor. The higher the number, the greater the sensitivity to light. This meant the darker it is, the greater the ISO needs to be. Basically, out in the sun, you’d use ISO 100, while at night at a BBQ, you’d probably use ISO 3200, unless the area is well lit.
You might have noticed that photos taken at night tend to be grainier. That is the result of higher ISO. In order to reduce grain, you’d need to lower the ISO. However, higher ISO allow for quicker shutter speeds, so that photos don’t tend out blurry due to camera shake.
Difference in ISO
In order to demonstrate the difference in light sensitivity, I took photos of three different books at ISO settings 400, 800 and 6400. Since I mounted my camera on a tripod, I was able to keep the shutter speed and aperture constant. Initially I meant to apply identical post-processing levels but that way I couldn’t even attempt to to make all photos look decent. That’s why I decided to just bring out the whites as much as possible without inducing too much grain, regardless of ISO settings.
When I experimented with ISO, there was an impending downpour. Perfect for quick changes in lighting conditions. I could start with ISO 400 when it was still reasonably bright, then took the photos at ISO 800 and 6400 as it got darker.
Contrasting Colours
Comparison

Lines between contrasting colours become less distinct as the ISO is amped up.
ISO 6400
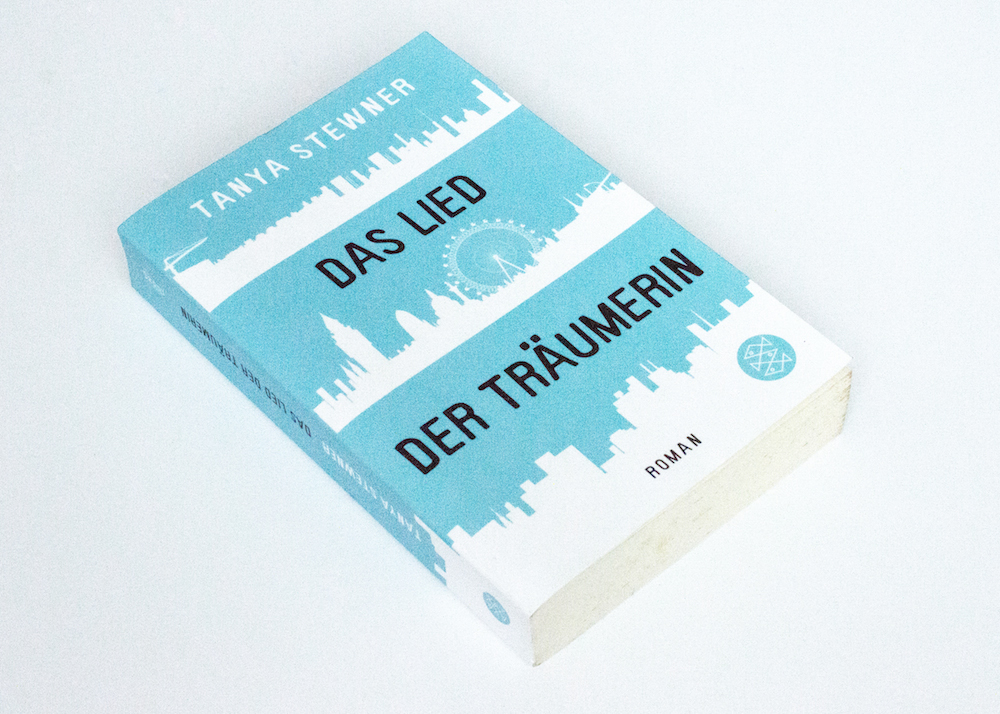
The grain makes colour distinctions less sharp.
Vibrance of Colours
Comparison

The vibrance of colours reduces as ISO goes up.
ISO 6400
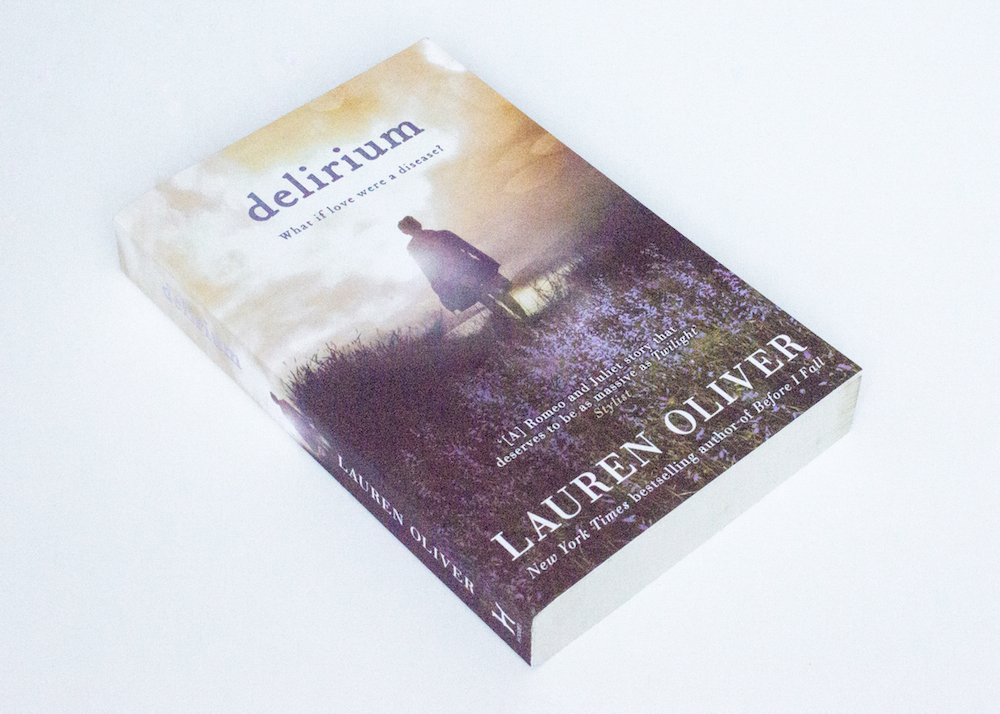
Reducing the shadow in post-processing in order to bring out the colours also brought out more grain.
All Things Shiny
Comparison

Losing warmth as ISO goes up
ISO 6400
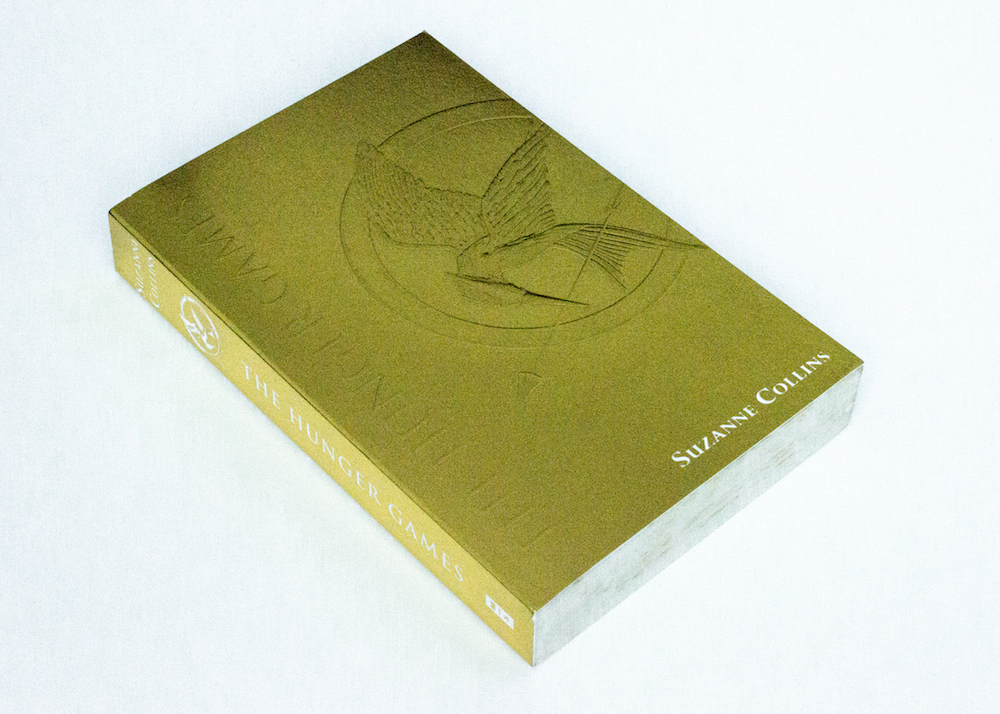
Less shine, more grain at ISO 6400.
Combat Grain
The simple solution to avoiding grain is to take photos during the day. ISO can remain low and the colours come out a lot more vibrant. It’s a lot easier too to bring out whites. When it’s darker, whites tend to look grey.
Day vs Night
Now, I recognize that not everyone is able to take photos during the day. We have our jobs, school or other things that occupy our time. Often this means the only time that is left is at night. If your only opportunity to take photos is at night, look for the brightest light source in your home. Chances are, it isn’t your night lamp on your bedside table.
If you’re not bound to a desk job and have pockets of time here and there at home, grab those moments. Take your photos then and do whatever editing strikes your fancy later during the day after you’re done with work or school.
When to Use High ISO
Despite the grain, or sometimes even because of the grain, there are times high ISO comes in handy. Say, you’re taking photos of your friend at a tennis match. You want to freeze motion. Then you’ll need to use the fastest possible shutter speed.
In order to do that without underexposing the photo, push up the ISO.
If you’re the sociable type of person always out to party at night or if you like to chill at the bar with a few friends, high ISO sensitivity is great because you can still take photos despite dim lighting conditions. Well, flash is an option but can be rather glaring.
ISO Setting for Book Photography
As much as possible, I try to stick to ISO 200. I’m still okay with ISO 400 but once I go up to ISO 800, I cringe. Book photography is still photography, which means the frame is already frozen. There is no need for fast shutter speeds, save for stabilising frames when handholding a camera. If you own a tripod, use it. A 3-second exposure at ISO 200 will bear better results than a half second exposure at ISO 1600.
When it comes to taking photos of books, I want to represent them in the best possible way, which for me means popping bright colours to grab people’s attention. Keeping light sensitivity low also ensures sharp lines, which I think is important for books.

Thanks again for a wonderful post. I really need to wrap my head around this ISO stuff. I just keep forgetting what it all means :P
At the moment it’s winter in Germany so there’s not a lot of light, sometimes not even during the day. I have to take all my book photos on the weekend because I’m never at home when it’s light enough on work days. This really sucks because I prefer natural lighting to artificial one.
I’ll have you know, there was this stage where I was obsessed with the graininess. I’m so glad that I outgrew that hahaha
This is really helpful! Thank you :))