What You Need
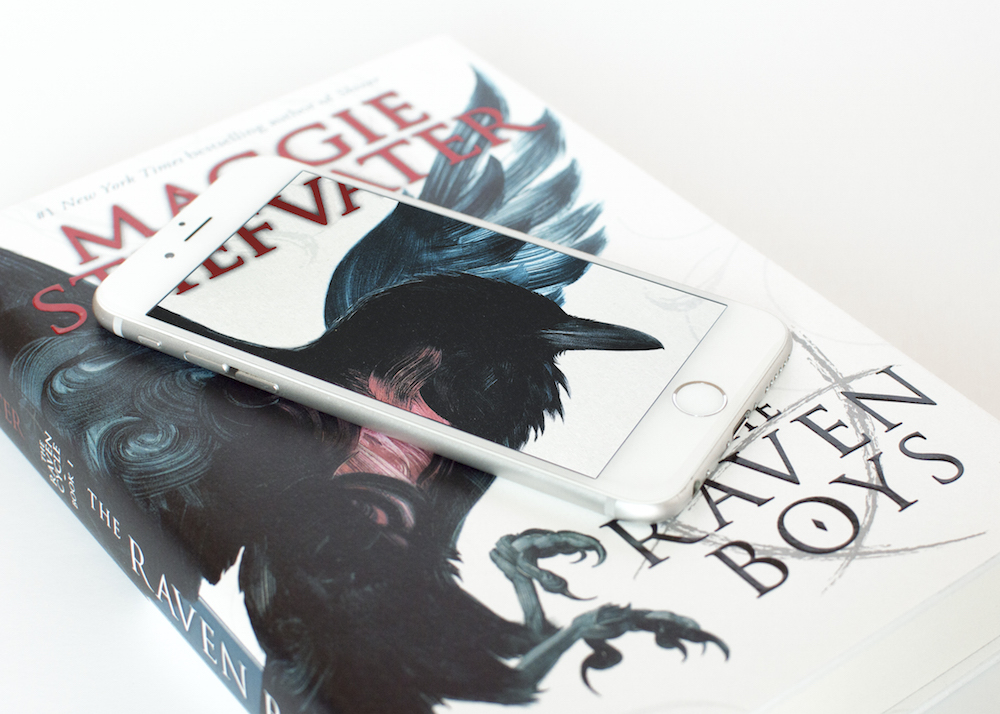
Taking #bookthroughphone photos isn’t difficult in itself. All you need is a camera phone, a second camera and your book.
The Basics of #bookthroughphone
Step 1: Take photo of book cover with phone
When taking a photo of the book cover make sure that the phone is parallel to the book. This is to make sure that the edges match up.
Step 2: Align the edges of the photo and book cover
Place phone on the book. Zoom into the photo until the edges of the cover in the photo and the book cover are aligned. Draw imaginary lines across the bezel of the phone to help you align everything properly.
Step 3: Take #bookthroughphone photo with second camera
Position your second camera right above the book and phone, take your photo and you’re done!
Note on Angles
When you align the edges top down, they won’t align when viewed from a different angle. Remember to compensate for that and to re-align the edges if you decide to take a photo from different angle.
Improving #bookthroughphone Photos with Proper Exposure
One problem that’s common among #bookthroughphone photos is that the screens tend to be overly bright to the point that they’re blown out. The point of these photos is to make it look as though the book covers can be seen right through the phone. This means that the exposures of the screen and the book cover should be the same.
Eyes and cameras don’t see things in the same way. Cameras are more sensitive to light, so light sources look much brighter in photos than they do to the eye. In order to compensate for that dim the screen brightness before taking the photo. This might take a few tries to get right. Just be careful that the screen doesn’t get too dark.
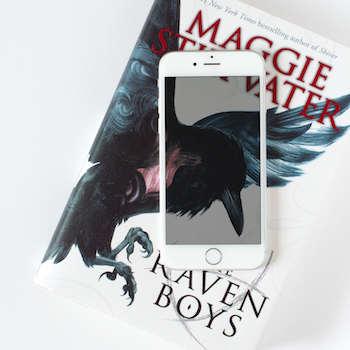
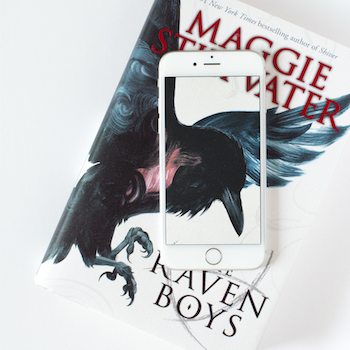
- Dim screen
- Perfect screen
- Blown out screen


This is amazing. I once tried a bookthroughphone photograph for an artwork one of my participants worked on and it was my first try. Nevertheless, I must say Josephine, that I actually followed the rules you mentioned above a year n half ago even when I read the article today.
However my screen brightness is a little blown out!
You can check that photo I clicked here: https://www.instagram.com/p/BTvwZ-qjXxe/?taken-by=trishti.healingarts
This is so incredibly helpful! I did a decent job of figuring out how to do this the first time I did the tag, but now I feel a little more confident that my photo will turn out better ;)
i’ve been wanting to do these type of photos for ages so thank you so much for the tips on this post. i’ll definitely have to try it soon :)
isha
Nice! Very nice! I’ve never taken one of these photos, but may just have to give it a try. :) Great tutorial!
Thanks for the explanation! I’m going to give this a shot soon :D
Thanks for the tips!